USA: Unveiling the Diverse Tapestry of Katerina Kore's Travel Adventures
Hey there, fellow explorers and travel aficionados! I'm Katerina Kore, and today, let's embark on a magnificent journey through the United States—an expansive canvas painted with an array of landscapes, cultures, and adventures waiting to be discovered. Join me as we traverse this captivating nation, unraveling its diverse tapestry of experiences that redefine the essence of travel.
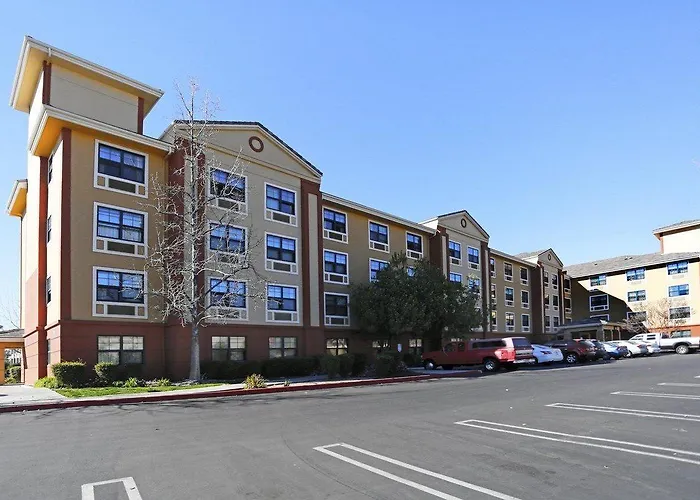
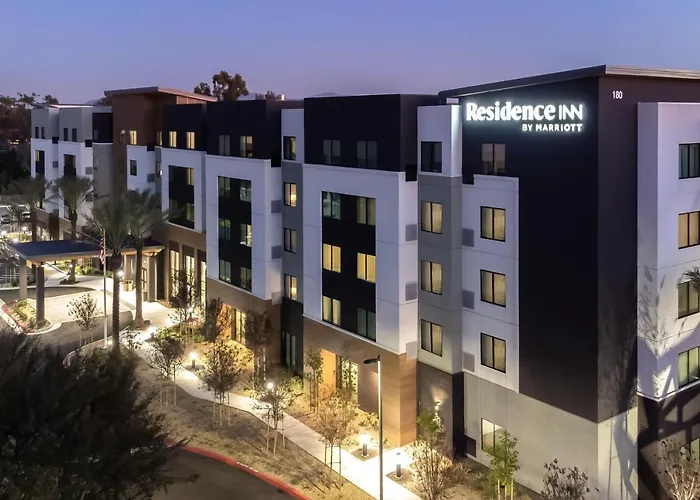
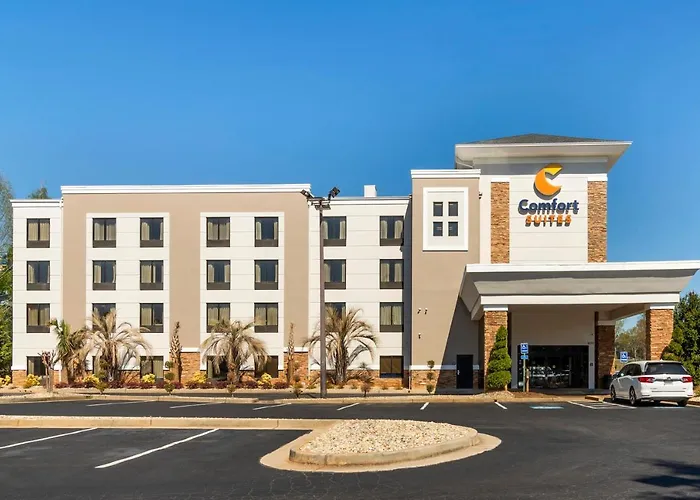
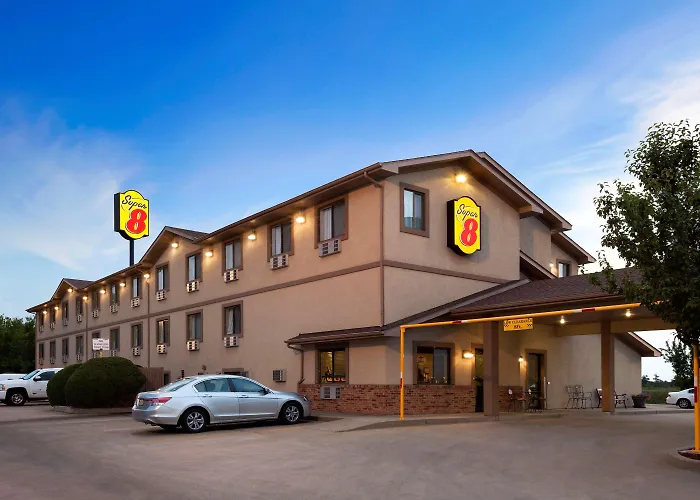
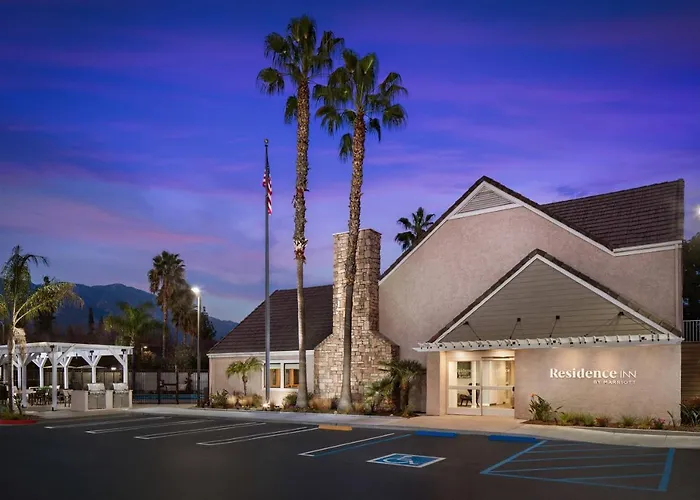
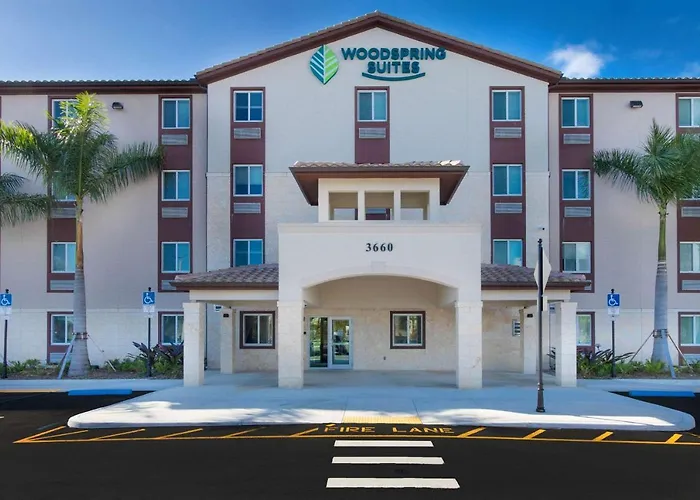
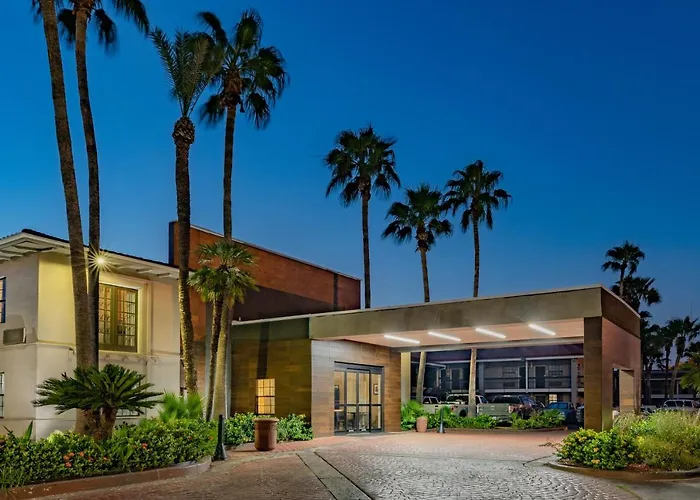
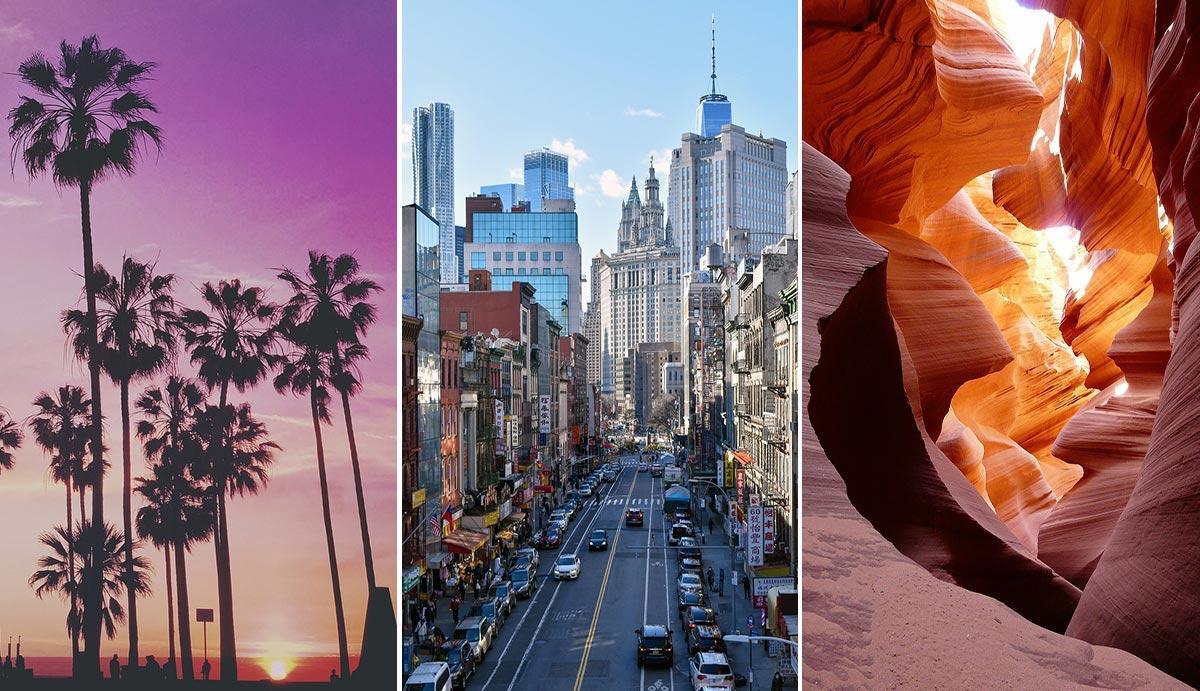
From the iconic skylines of New York City to the serene landscapes of the Pacific Northwest, the USA beckons travelers with an extraordinary range of destinations, each offering a unique narrative and unforgettable memories.
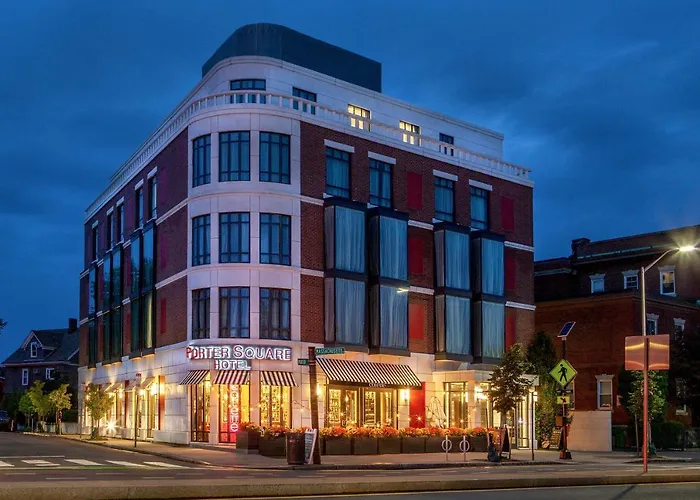
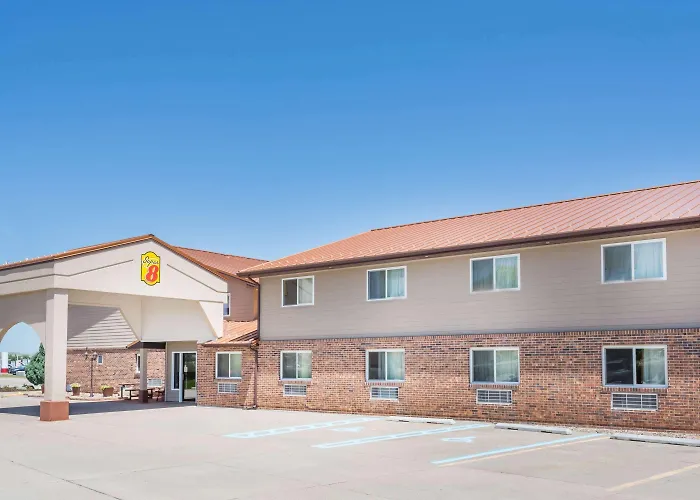
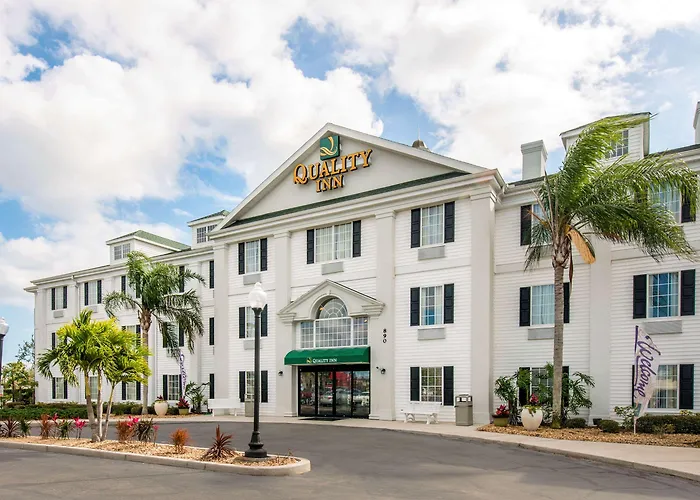
For urban enthusiasts, America's bustling cities are a playground of experiences. The vibrant buzz of Los Angeles' entertainment scene, the historic charm of Boston, or the eclectic fusion of cultures in San Francisco—each metropolis boasts its distinct allure, promising a vibrant immersion into art, cuisine, and rich history.
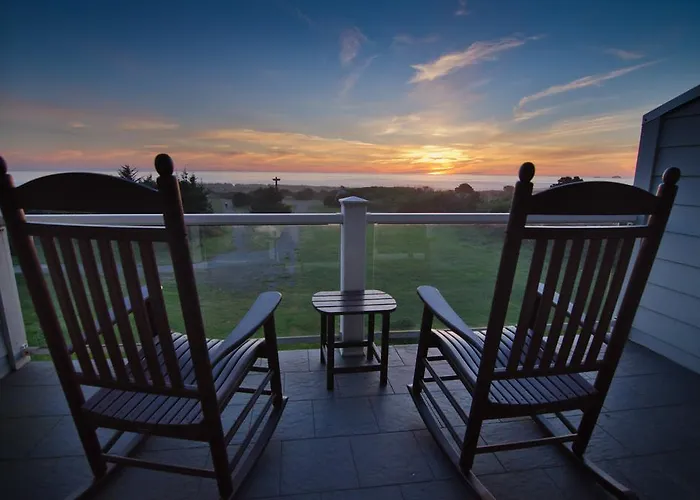
However, the USA isn't confined to its urban landscapes alone. Nature enthusiasts are in for a treat, as this country hosts an unparalleled spectrum of natural wonders. From the majestic peaks of the Rocky Mountains to the ethereal beauty of the Florida Keys, the variety of landscapes invites exploration, hiking adventures, and moments of pure serenity amidst unspoiled beauty.
Let's not forget the cultural riches scattered across the states. Whether it's exploring the jazz heritage in New Orleans or tracing the footsteps of American history in Philadelphia, each destination resonates with stories of the past, art, and traditions waiting to be embraced by eager travelers.
And then, there's the culinary odyssey—the diverse flavors that tantalize taste buds across the nation. From savoring Southern barbecue in Texas to indulging in seafood delights on the coasts, the gastronomic journey in the USA is an adventure in itself, reflecting the rich cultural tapestry that defines this diverse nation.